Showing posts with label Dusty Attic. Show all posts

Saturday, September 30, 2017

Another Grungy Layout.....

Hi Scrappy Friends,

Just thought I'd pop up a blog post while I am watching the Grand Final.  The Mighty Hawks aren't a show this year, so I am really pretty neutral about the outcome - kinda leaning toward the Crows, but would like to see the Tigers win a flag after so long too.

Anyway, back to scrapping.  Today I am sharing another layout I did a while ago:


I used the gorgeous "Believe" kit from Scrappy Chat Designs.  This paper is from Bo Bunny - and the range is full of grungy deliciousness.  
I started by using a bit of texture paste and the "Subway" stencil from TCW.  Next I used some Lindy's Stamp Gang Mist in Cattail Copper Brown. This colour can be found in a set at Scrap Matrix here.  I then added some blue colour to blend in with the blue denim in my photo.  I did this by  using the fabulous Distress Oxide Ink in Broken China.  I applied the ink pad to my craft sheet, sprayed it with water then sponged on the colour.  For extra layers, I stamped my Carabelle Studios "Grunge Metre" stamp randomly on the background until I was satisfied with the result.

Once I was happy with the background, I prepared my embellishments.  I embossed the chipboard chain and chicken wire with Lindy's  Queen of Sheba Silver Embossing Powder.  With the chipboard cogs, I painted them in Dusty Attic Chocolate Brown, then added some Dusty Attic Rusting Powder.
I LOVE the rusting effect this powder has on chipboard - it makes it look so real!!

Then I put the whole thing together, layering my chipboard cogs with metal cogs and clocks, and some metal numbers as.  Finished it off with some Finnebair microbeads.  Here are some closeups:


I found a metal cog that fit perfectly over the top of this Finnebair Fob metal.  
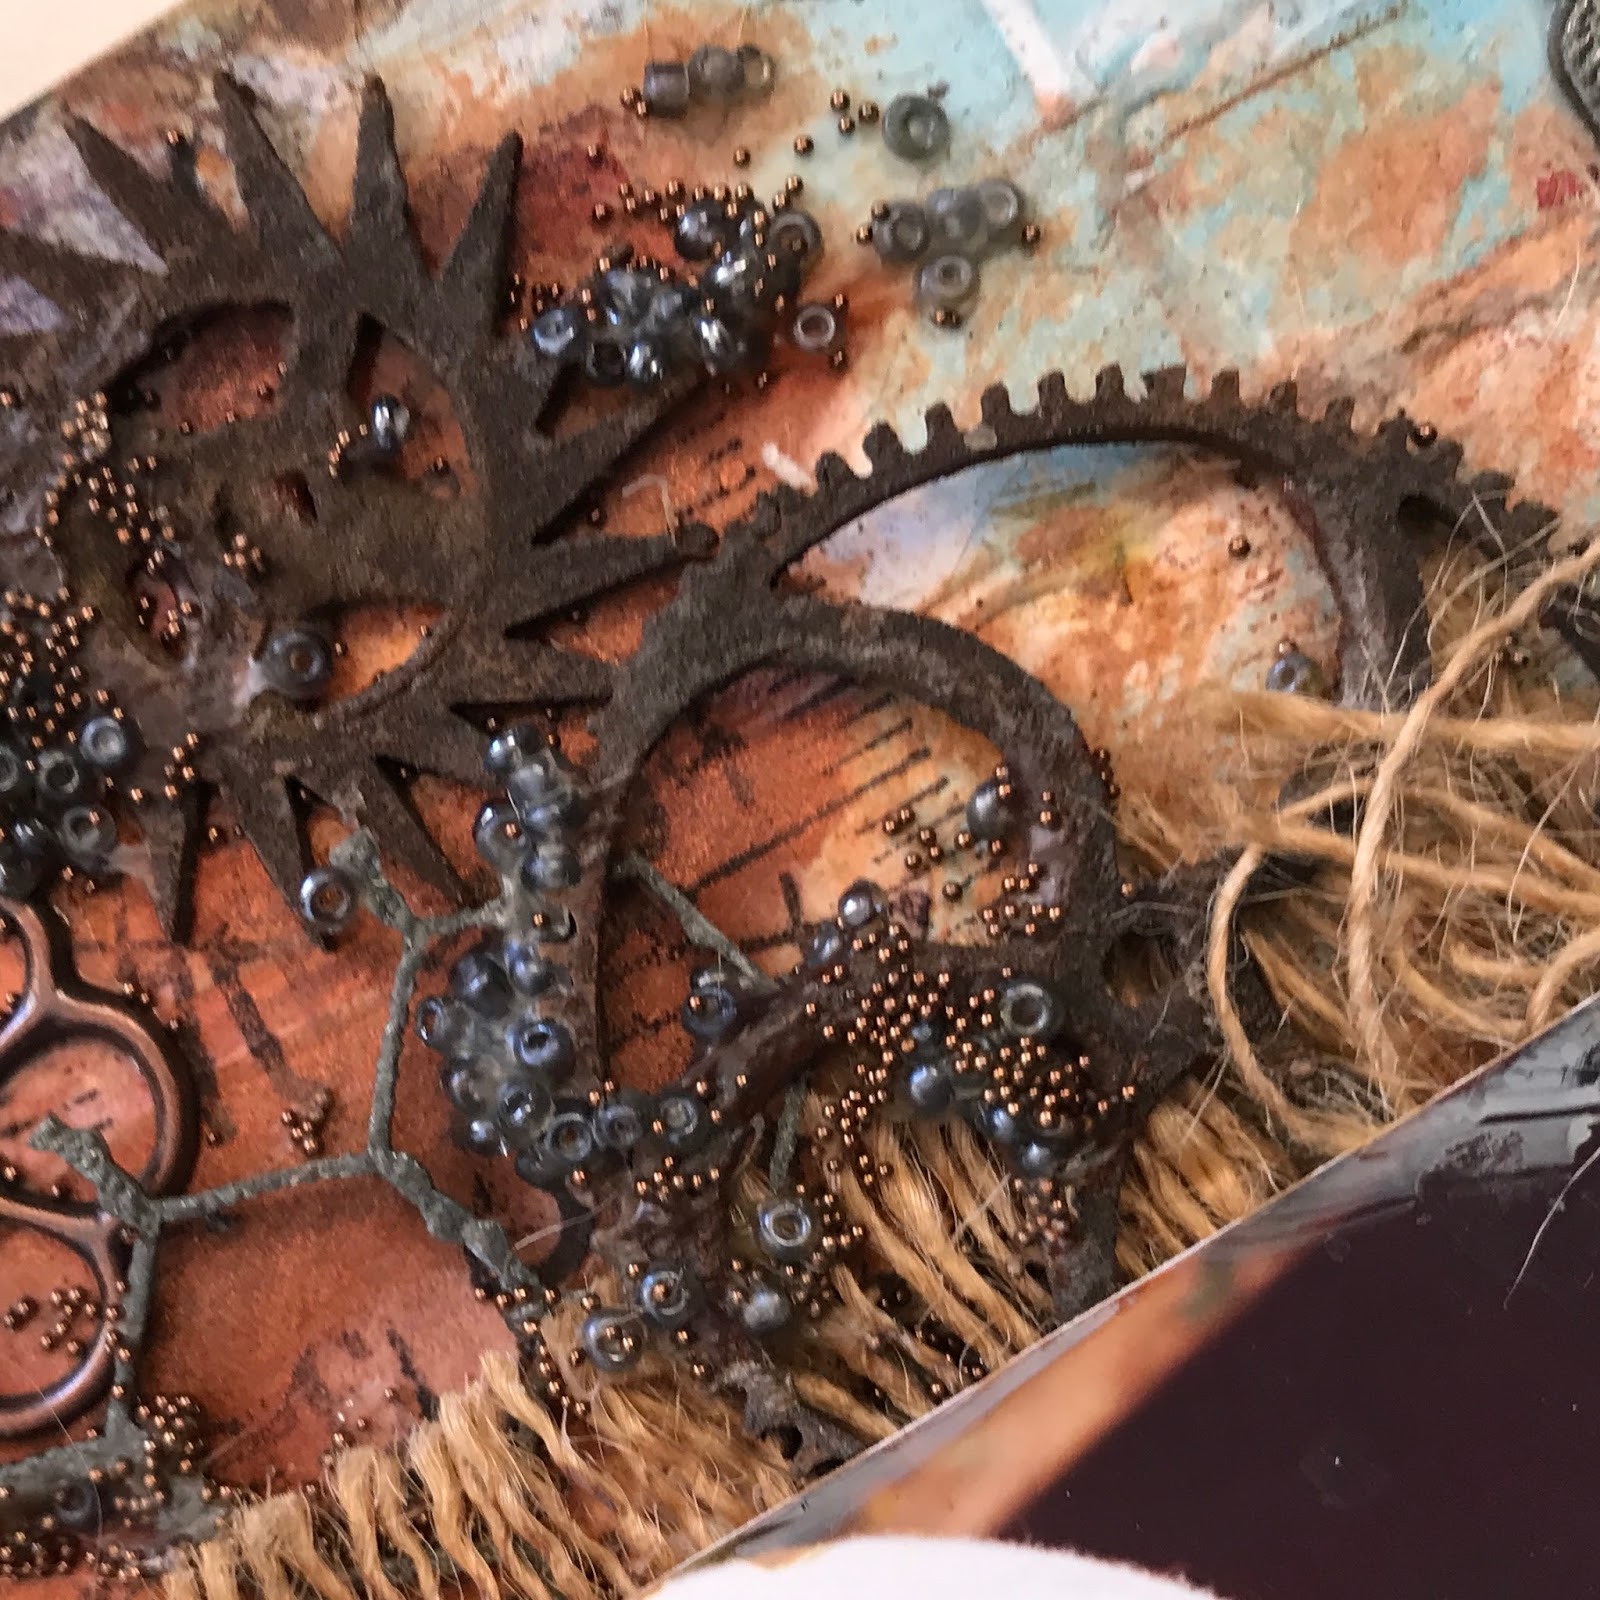

The paint/Rust Powder effect makes the chipboard cogs look so realistic.


That's it from me for now.  I hope you enjoy Grand Final weekend, and also fit some scrapping in!

Have fun,

Monique xx


Monday, May 23, 2016

A "Just Because" Layout - "Enjoy The Sunshine"

I just adore scrapping "just because" layouts.  It's when I get a chance to use mediums that I might want to try, or techniques that I want to experiment with, or even goodies I've been dying to play with.
"Enjoy The Sunshine" is exactly that.  I had so much fun just sitting down and playing.
This is what I did:


On this layout, I was keen to try out my new Dusty Attic "Waves" Stencil,  so I used some Colour Blast Colour Paste in Snow to apply the "waves" to the Pion Design "Shoreline Treasures" paper.  I really wanted to create a foamy "white cap" look.  You can get the Dusty Attic "Waves" stencil and the Colour Blast Colour Paste from Studio M Designs here.

 I completed the background by using a Prima stencil and stencilling some "bubbles" onto the background with some texture paste mixed with Lindy's Stamp Gang Magicals.  Then I splattered the background with some Lindy's Stamp Gang mist in Sandra Dee Sepia and Aloha Avocado.  Then I blended some blue into the background with some watercolours - just to give the layout a watery "under the sea" look.

 I also wanted to use a Dusty Attic "Fishnet" chipboard piece.  All I did with that was stamp some embossing glue on it, and embossed it with some Lindy's Stamp Gang embossing powder.  I was really trying to blend in the background colours of the paper, and give a "fish net" look to the paper.


Other Dusty Attic chipboard - the Shells and Seahorses - where painted in ombre tones.  To achieve this, I painted the base of the chipboard in the darkest shade, then kept adding white and blending it in as I went higher.  I finished the chipboard off by sprinkling some glitter on to it.

Here are some close ups:


I cut some diecuts with the Kaisercraft "Seagrass" die and painted the white yardstick in greens to blend into the layout.  I put the whole layout together with some flowers, and some Prima Glass Glitter.

Hope you enjoy your week folks, thank you for stopping by my blog
xx


Tuesday, May 3, 2016

Cre8 Till L8 Challenge

Hi everyone,

How was your weekend?  It was a long one up here in Queensland for Labour Day, so mine was pretty good - spent chilling, scrapping, catching up on some housework and seeing family and friends.

Anyway, thank you for popping by my blog.  Today I thought I'd share a layout with you that I did at Saturday's Cre8 till L8 day, run by Michelle from Studio M Designs.
Michellle always has a challenge on the day, and I participate everytime.  Not so much for the fantastic prizes on offer, (20% and 10% off your shop purchases) but because it is fantastic for getting the mojo flowing and doing something different.  The prizes are by random draw, so everyone who enters has a chance of winning.

This was the criteria for the challenge this time:

1. Title/Theme/ Inspiration – Happy
2. Design/Project – Circles3. Tech/Tools – Die Cuts/ Embossing Folders4. Colour – White plus one other colour (can include varies shades of the one colour)5. Medium – Inks (Can be ink Pads or Spray inks)6. Journal – With a white pen7. Embellishment – Die Cut Feature

And this is what I did, please note I found it VERY difficult to simply use "White and One other Colour," so I entered the challenge, and then with I got home I added some black lettering and some black ink splashes...just couldn't resist - lol.


To create the background I diecut some Spellbinder's circles and arranged them onto the ink splashes I had laid down initially.  I did some stamping, and used some Colour Blast Paste in Snow with a Dusty Attic Stencil, some gesso splashes, and some stamping, also used some Melt Art White embossing powder.  The Colour Blast Paste and the Dusty Attic Stencil are available in the Studio M Designs shop here.

I was actually pretty happy with how it turned out.

Cheers,
Hope you all have a wonderful week xx

Saturday, April 23, 2016

CSI Case File 198

Hi Everyone,
Thanks for popping by my blog.  Tonight I am sharing the layout I did for the final challenge in my Special Investigator stint over at CSI Colour Stories Inspiration.

Here is the challenge:


Now I have to admit I did find this a bit tricky - especially with the colour combinations, as I don't usually scrap with a lot of green.  Don't know why - it's just one of those colours I don't use much....
Anyway, this is what I came up with.  


I used some paper from Pion Designs and the Kaisercraft Coastal Escape Range, as well as a Kaisercraft Die for the large seagrass, and Coastal Escape Collectables.
To cover all of the colours, I painted the large seagrass diecuts with some Dusty Attic Paint in Forrest and Crushed Olive, which you can get from the Studio M Designs shop here.  My background work included some Lindy's Stamp Gang Magicals in Tweedle Dee Denim and I also added some netting with the Kaisercraft Fishing Net Background Stamp and Lindy's Stamp Gang embossing powder.  I also splattered some Lindy's Stamp Gang mist in Tweedle Dee Denim and Sunshine Yellow.

The Evidence I supplied was the striped paper, leaves/flowers, string, and the mesh I used as part of my photo mat.  My Testimony was about nature, and was partially hidden in the bottle.

Here are some close ups:


If you would like to play along with this fantastic challenge, visit the CSI Color Stories Inspiration site here.

Cheers, and I hope you are having a good weekend. xx


Tuesday, April 5, 2016

CSI Guest Detective Major Case File 196

Hi everyone, thanks for stopping by my blog.
I am super honoured and proud to be a Guest Detective over at CSI Colour Stories Inspiration this month.
Major Case File 196 is open now and all the Design Team Contributions are there for inspiration.

This is the challenge:


This is how I solved the case:


I have used predominantly Teal, Copper Brown and Buttercream Yellow on a White Background, with splashes of Marigold Orange.
The Evidence I supplied included the circles in my background, chipboard and epoxy circle stickers, cogs, lightbulb and solid brads. I could have also included in my evidence the moustache Mr Connor was holding as a photo prompt.
My Testimony was my journaling about the background story to this photo, and how funny Connor thought it was posing with a moustache.  

Do you like the rusty effect on the cogs?  I got it by using Dusty Attic's Rusting Powder, which can be found here.  At Studio M Designs.

Here is a close up:


Hope you have a great week everyone, don't forget to head over to CSI and join in the fun!!